Beginner Engagement Photography Pathway
Jul 24, 2019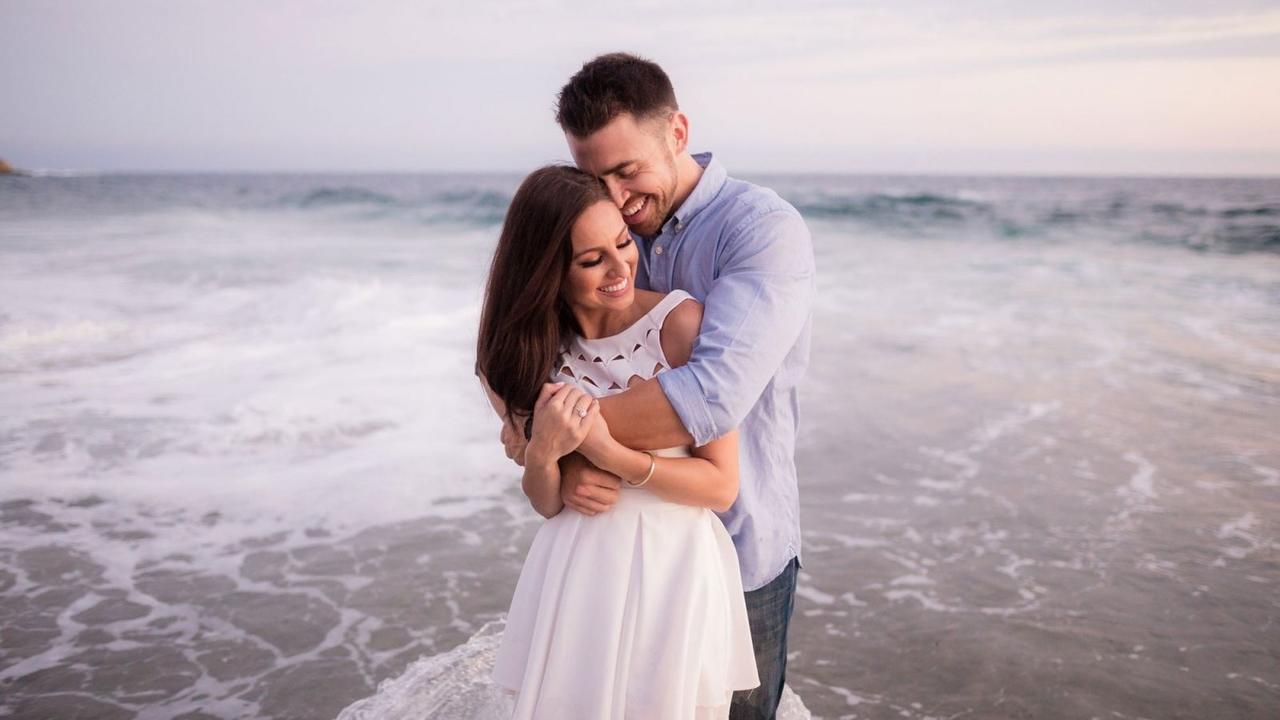
Goal: Learn how to shoot your first engagement session.
Engagement photography, or pre-wedding photoshoots, provide photographers with an opportunity to develop communication and trust with clients prior to the wedding day. These controlled, predictable shoots also give photographers a chance to practice, experiment, and try new creative techniques without as many pressures or time constraints as a wedding day. The best way to become a better engagement photographer is to get out there and shoot. But to ensure a positive experience for both sides and to prepare yourself for success, here are the 4 recommended steps.
In future pathways, we'll touch on intermediate and advanced techniques.
Here are the 4 steps we are going to cover:
- Understand the Clients Needs/Wants (WAVE)
- Plan the Engagement Shoot
- Master Foundation Posing & Directing
- Maximize the Natural Light
- Add Flash for Dramatic Imagery
Note: Be sure to log in to your account to access the videos listed below.
Step 1: Understand the Clients' Needs/Wants (WAVE)
The first step to successfully shooting your first engagement session is putting together a successful plan, understanding your client's vision, and establishing the right expectations.
1a. Take the Photos your Clients Want
Often times as photographers we are faced with shooting in the same locations over and over again which inevitably places us in a creative rut. The best way to combat this is to make sure your sessions are personalized and catered to your clients’ desires. We created the W.A.V.E (Wall Art Vision Exercise) as a means to help photographers better dial in the creative vision clients have for their shoot. 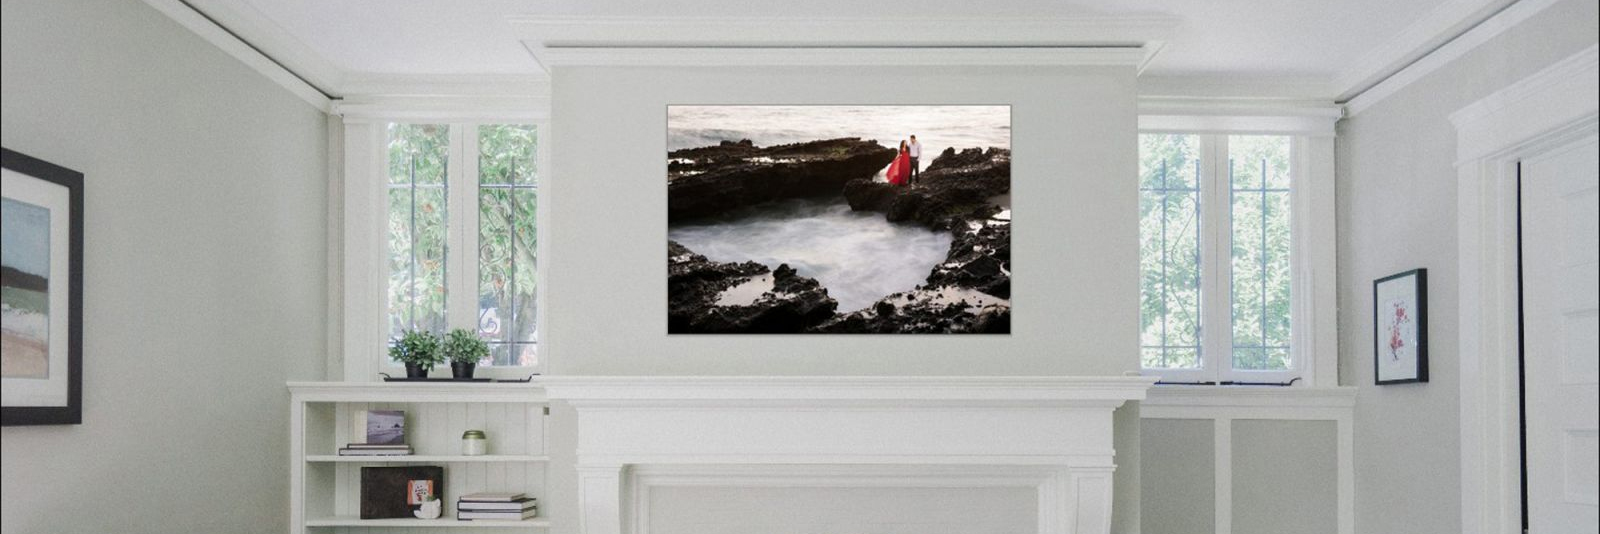 The W.A.V.E. a simple exercise designed to help your clients focus on the type of images they desire, and it allows you to start planning for (and envisioning) the shoot.
Related Premium Video(s):
- From the Photography Business Training System: Wall Art Vision Exercise: Identify The Need/Want (click here)
- From the S3 Workshop: Where the Moodboard Falls Short (click here)
Step 2: Plan the Engagement Shoot
2a. Have the Couple Create a Moodboard
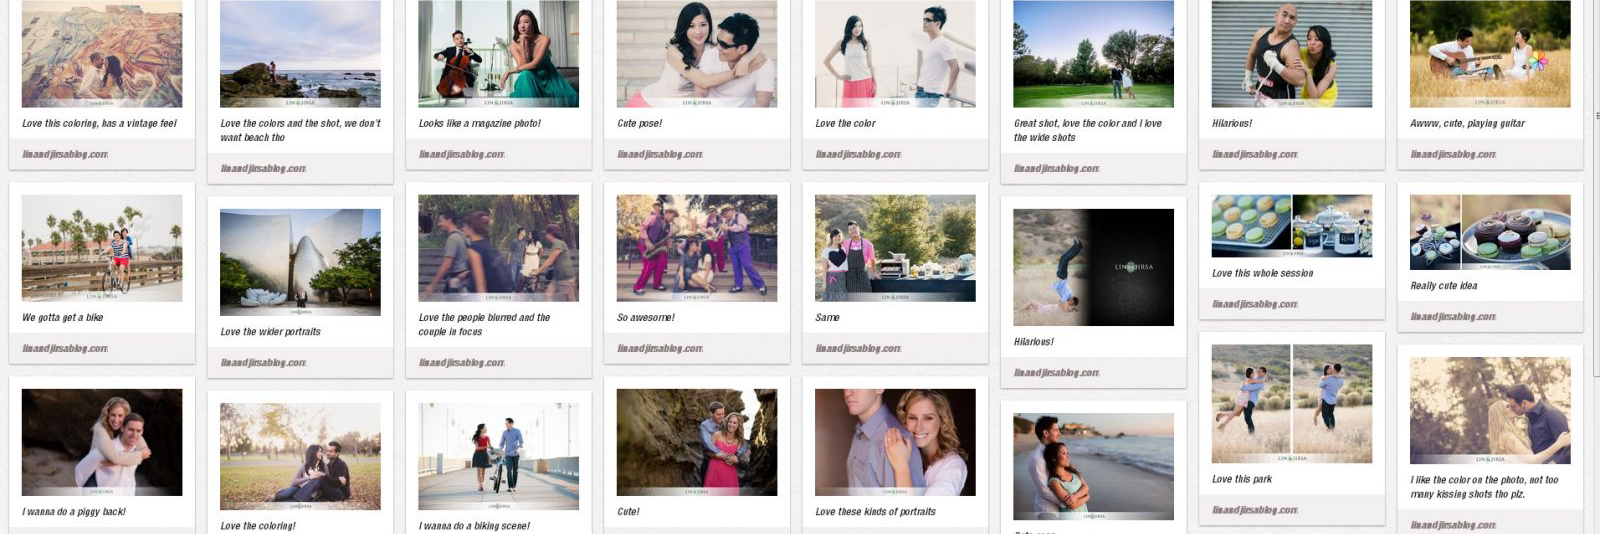 True lifestyle photography requires that we understand our clients’ personality and taste. Have your client put together a moodboard on Pinterest to help you better understand their style, help to determine your engagement session location, and get a better understanding of the vibe and feel they are looking for.
Related Premium Video(s):
- From the Natural Light Couples Photography Workshop: Creating a Moodboard (click here)
- From the Natural Light Couples Photography Workshop: Moodboard Interview (click here)
- From the S3 Workshop: The Moodboard’s Place for a Shoot (click here)
2b. Discuss Wardrobe & Styling
To ensure that your session is cohesive discuss what the couple will be wearing and if there are any potential props that they will be bringing. This is to make sure you aren’t in for any surprises when you show up. If they need guidance on what colors will work best with the locations they’ve chosen.
Related Premium Video(s):
- From the Natural Light Couples Photography Workshop: Wardrobe and Props (click here)
- From the Natural Light Couples Photography Workshop: Professional Makeup (click here)
- From the Natural Light Couples Photography Workshop: Locations & Activities (click here)
- From the Photography 101 Workshop: Color Schemes (click here)
Step 3: Master Foundation Posing & Directing
Posing is an area that is one of the most challenging for photographers to master. There are times when you’re at a shoot and you feel like you’ve run out of posing ideas and struggling to get a certain look or feel, and this is why we’ve developed an entire framework for posing that we call the Foundation Posing Framework, which teaches you what you need to know.
3a. Understand The 5 Foundation Poses
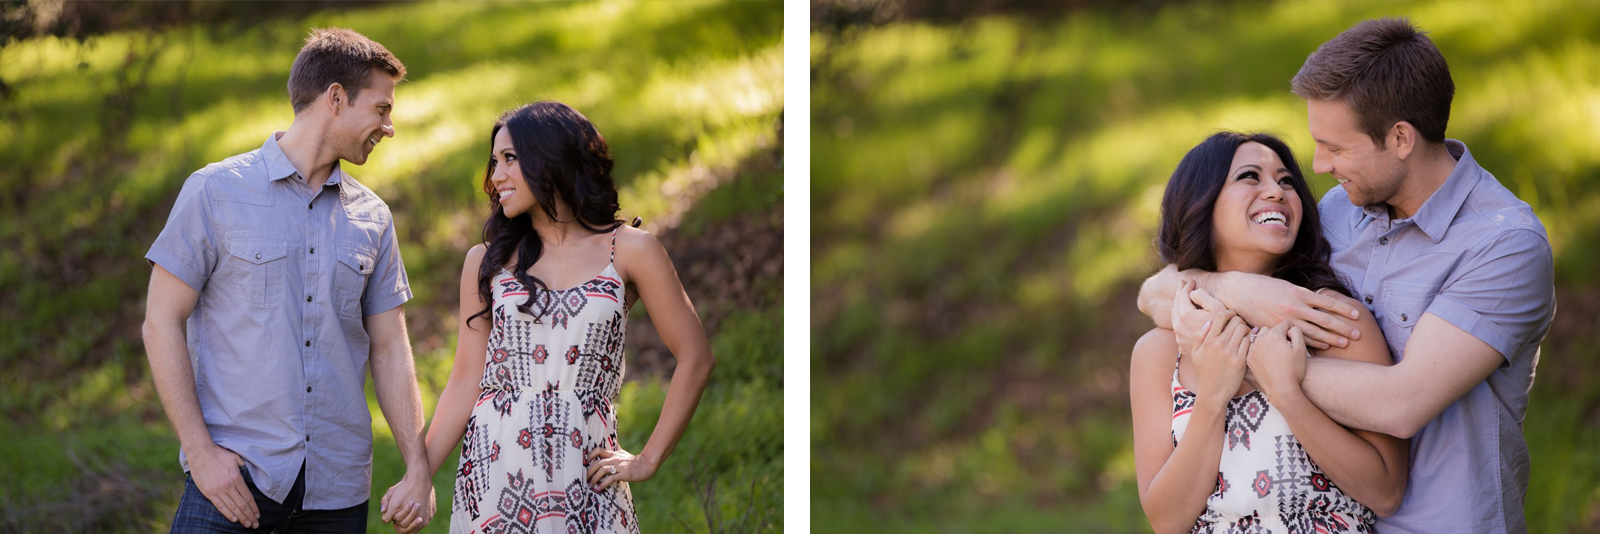 Around 97% of poses come from 5 different positions of the feet. This was how our Foundation Posing Framework was created. By learning these 5 poses from the ground up, you’ll be able to place your couple in any pose and then tweak to your liking with micro-adjustments. The framework also allows you to get in and out of poses quickly.
Related Premium Video(s):
- From the Natural Light Couples Photography Workshop: What are the Foundation Poses? (click here)
- From the Complete Posing Workshop: The Foundation Posing Framework (click here)
- From the Complete Posing Workshop: Posing Goals for Women (click here)
- From the Complete Posing Workshop: Posing Goals for Men (click here)
Step 4: Maximize the Natural Light
When starting out in engagement photography it's advised to get a solid understanding of how to manipulate and maximize natural light before moving into any artificial lighting.
4a. Shoot with Available Light
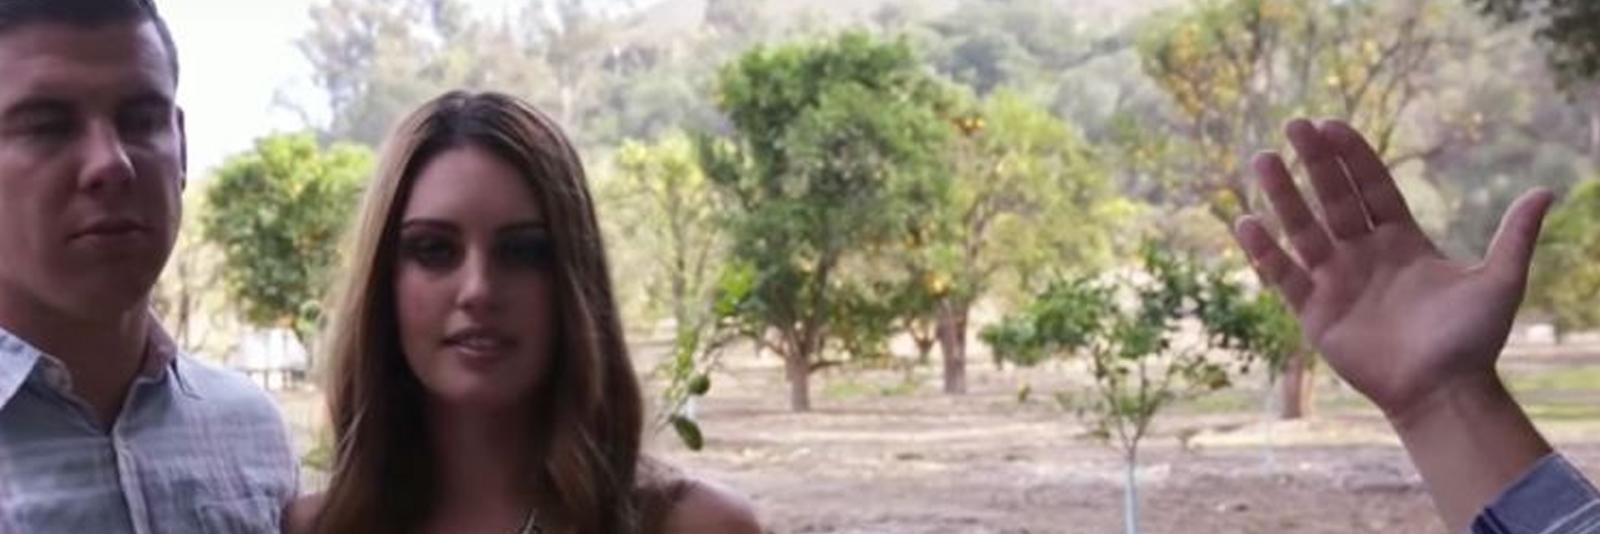 Interpreting light starts by understanding its attributes: quality, color, direction, and luminosity. Of these factors, light direction distinguishes the overall theme of an image, as shadows and highlights cast onto the subject based on the light’s direction can either emphasize or reduce imperfections. The Hand Test is a quick trick to help determine where to place your couple in just a couple of seconds. This is a quick and easy way to find your direction of light and start shooting.
Related Premium Video(s):
- From the Photography 101 Workshop: How to Find the Right Light Direction (click here)
- From the Natural Light Couples Photography Workshop: Shooting with Available Light (click here)
4b. Master the Reflector | Your Simplest Lighting Tool
Before investing in on/off-camera lighting, start by manipulating natural light with a silver side or white side of a reflector. The best tools are often the simplest and that is definitely the case when it comes to a 5-in-1 reflector. It’s a great way to add a kiss of light into the scene without overcomplicating it.
Related Premium Video(s):
- From the Unscripted - Photoshoot BTS Workshop: Your Simplest Lighting Tool: A 5-in-1 Reflector (click here)
- From the From Shoot to Post Workshop: Shooting in Overcast (click here)
- From the Natural Light Couples Photography Workshop: Reflectors as a Main Light (click here)
- From the Natural Light Couples Photography Workshop: Using the Reflector as a Fill (click here)
- From the Natural Light Couples Photography Workshop: Using the Reflector as a Gobo or Scrim (click here)
- From the Unscripted - Photoshoot BTS Workshop: Using Two 5 in 1 Reflectors for Couples Portraits (click here)
- From the Lighting 201 Workshop: The Flash Modifier You Already Own (click here)
4c. Maximize Dynamic Range
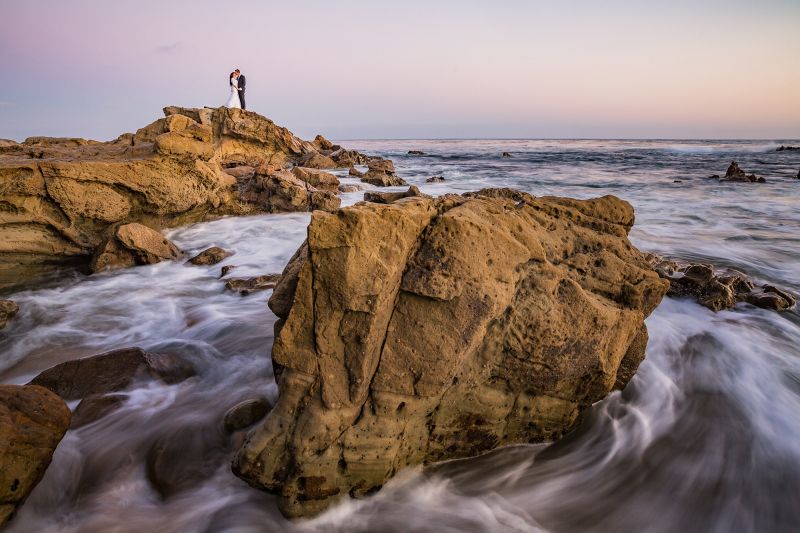 When your ambient light starts to fade, you’ll need to rely on pushing your camera to its max capacity to really try and retain all the color and detail in the scene. With natural light couples photography, you can try and underexpose an image to retain that detail and then pull it into post to enhance it.
Related Premium Video(s):
- From the Photography 101 Workshop: How to Get Perfect Exposures in One Shot (click here)
- From the Photography 101 Workshop: Reading Exposure via the Histogram (click here)
- From the From Shoot to Post Workshop: HDR Environmental Portraits | Shot With Natural Light (click here)
Step 5: Understanding the Basics of Flash
There is only so far you can push your camera sensor to let in all the available light, and that's where on-camera flash comes into play. Shooting with a flash can be very intimidating if you are new to photography, but luckily we've got you covered with these on-camera and off-camera flash tips.
5a. Create Flattering Light with a Single On-Camera Flash
It's truly a myth that you can't create beautiful light from an on-camera flash, it all just depends on how to modify and/or bounce it.
Related Premium Video(s):
- From the Lighting 101 Workshop: 5 Reasons to Use Flash (click here)
- From the Lighting 101 Workshop: Silver Bounce (click here)
- From the Lighting 101 Workshop: More Light Silver White (click here)
- From the Lighting 101 Workshop: Soft White Bounce (click here)
5b. Incorporate Off-Camera Flash for Natural Effect

After you've garnered a basic understanding of how to manipulate your on-camera flash to create flattering light, it's time to take it off-camera. Creating 'natural-looking flash' comes down to the type of light modifiers that you’re using and more importantly, the balance between ambient light and flash.
Related Premium Video(s):
- From the Lighting 101 Workshop: Flash VS Ambient Light Exposure (click here)
- From the Lighting 101 Workshop: Flash & Ambient Balancing for Natural Effect (click here)
- From the Lighting 101 Workshop: Filling and Refining Existing Light (click here)
5c. Balancing Ambient Light & Flash for Dramatic Effect
There are different looks you can achieve depending on your ambient light exposure and your flash power.
- From the Lighting 101 Workshop: Natural Vs Dramatic Light (click here)
- From the Lighting 101 Workshop: Flash & Ambient Balancing for Dramatic Effect (click here)
- From the Lighting 101 Workshop: Flash & Ambient Balancing for Creative Effect (click here)
In our Advanced Engagement Photography Pathway, we dive further into the world of off-camera flash and cover topics like multi-point lighting setups, posing cues and direction, and camera tricks!
Stay connected with news and updates!
Join our mailing list to receive the latest news and updates from our team.
Don't worry, your information will not be shared.
We hate SPAM. We will never sell your information, for any reason.


